Threaded Inserts for Plastic Parts: Heat-Set Brass
Threads cut straight into plastic strip and creep loose. Heat-set brass inserts give plastic parts a metal thread that survives real assembly — here is how to design for them.
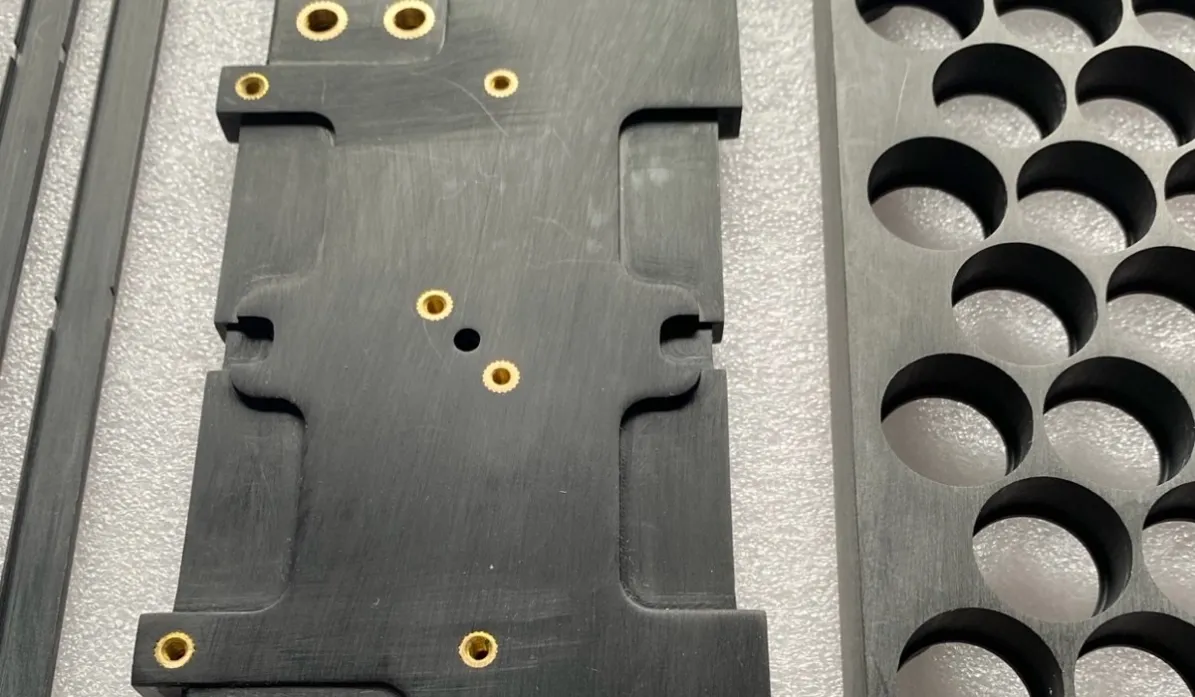
A thread tapped directly into plastic is a thread with an expiry date. It may hold on the first assembly, feel soft on the third, and strip on the fifth — usually during final assembly, at the worst possible moment. A heat-set brass insert ends that problem: the screw turns in metal, the insert is locked into the plastic by its knurled outside, and the joint can be opened and closed for the life of the product.
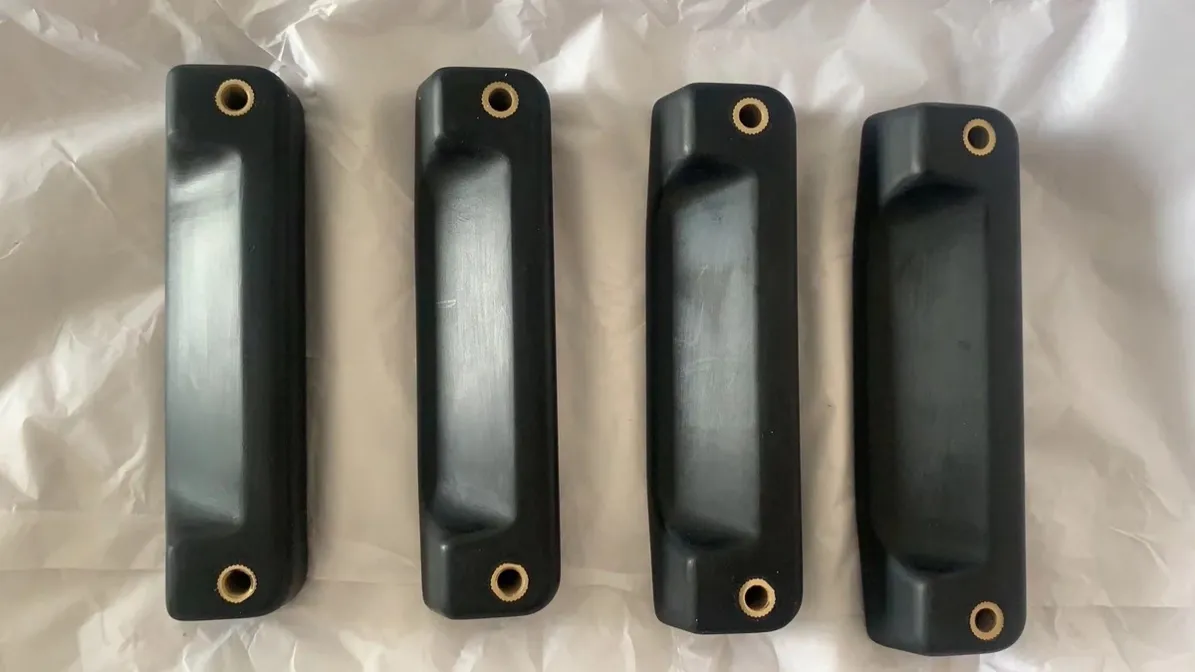
We install heat-set inserts in machined ABS panels and housings regularly, including multi-part builds where panels are machined separately, fitted with inserts, and bonded into one assembly. This guide covers why inserts work, how they are installed, and the few dimensions that decide whether they hold or fail.
Why threads in plastic fail
Plastic threads fail in three predictable ways:
- Stripping. The thread flanks are plastic, and plastic shears at a fraction of the torque a metal thread takes. One over-enthusiastic turn of the screwdriver ends the part.
- Creep. Plastic flows slowly under constant load. A screw that felt tight at assembly relaxes over weeks, and the joint loosens itself.
- Wear. Every disassembly grinds the thread a little. Parts that must be opened for service — covers, access panels and service hatches — wear their threads out by design if there is no insert.
A brass insert removes all three failure modes at once: metal thread flanks, a knurled body the plastic locks around, and a joint whose life is set by the screw, not the housing.
How heat-setting works
A heat-set insert is a brass nut with knurling and an undercut groove around its outside. Installation is simple in principle:
- The hole in the plastic boss is machined or molded slightly smaller than the insert's knurled diameter.
- A heated tip — a modified soldering iron or a small heated press — brings the insert to temperature and pushes it into the hole.
- The plastic at the wall melts locally and flows into the knurling and groove.
- The plastic solidifies around those features, locking the insert against both pull-out and rotation.
Done right, the insert sits flush or a hair below the surface, square to the hole, with no melted flash in the thread. Done wrong — too hot, too cold, or pushed in crooked — you get a weakened boss, plastic in the thread, or an insert that spins the first time a screw is torqued. Temperature and alignment are the whole craft, which is why volume work uses a jig or press rather than a free hand.
The dimensions that decide whether it holds
Inserts fail on paper before they fail in the shop. Three dimensions matter:
| Design point | Rule of thumb | Why |
|---|---|---|
| Hole diameter | Follow the insert maker's spec for the thread size — typically a few tenths under the insert's knurled OD | Too large: nothing for the plastic to lock into. Too small: the boss cracks or bulges on installation |
| Boss wall thickness | Boss OD around twice the insert OD as a starting point | The displaced plastic needs somewhere to go, and the wall carries the pull-out load |
| Boss depth | At least the insert length, plus a little clearance below | A bottomed-out insert gets pushed sideways or leaves the boss floor too thin |
Two more habits separate reliable designs from returns. Put the insert in a proper round boss rather than a thin flat wall — a flat 2 mm panel cannot hold an insert no matter how carefully it is installed. And keep inserts away from edges and corners, where the boss has no material to react against.
Inserts in CNC-machined parts vs molded parts
The insert does not care how the plastic part was made, but the workflow differs:
- Injection molded parts can have inserts molded in place, or heat-set afterwards. Post-installation is more common than it used to be — it keeps the mold simple and lets one molded part serve several thread sizes.
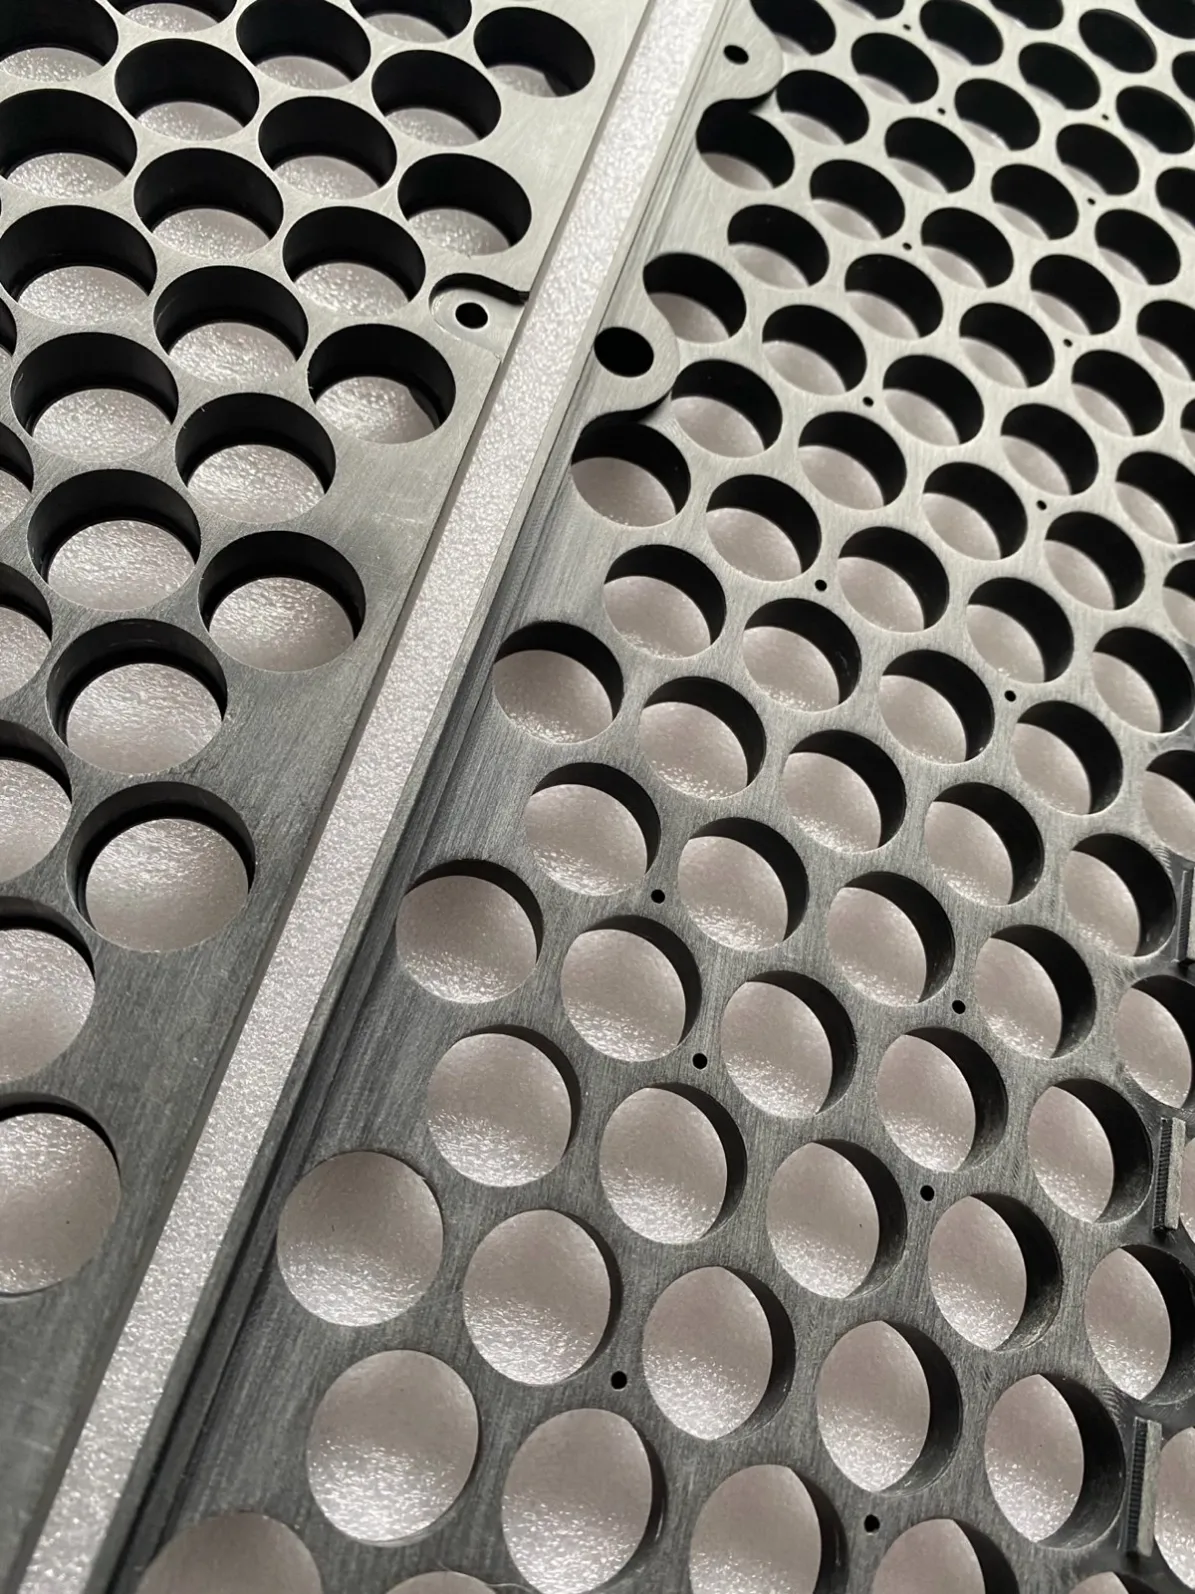
- CNC-machined parts — the prototype and low-volume route — are always fitted afterwards: machine the boss and hole, then heat-set. This is the standard way to give a machined ABS or PC housing threads that behave like production threads, and it is how the panels in our photos were built.
- Vacuum cast parts use inserts too, but the polyurethane is a thermoset: it does not melt for heat-setting, so inserts are placed in the mold or bonded in. If you are bridging from CNC prototypes to cast copies (see vacuum casting vs injection molding), tell us at the start so the boss design suits both processes.
When to skip the insert
Inserts are not free, and some joints genuinely do not need them:
- One-time assembly with a thread-forming screw into a properly designed boss — acceptable for covers that will never be opened.
- Very thin walls where no boss can fit — redesign the joint (a nut pocket or a through-bolt) instead of forcing an insert in.
- Disposable, cost-driven parts where a stripped thread is a tolerable failure.
The dividing line is service: if a human will undo that screw more than a few times, specify the insert.
Specifying inserts on your drawing
Keep it simple: call out the thread (e.g. "M3 heat-set brass insert"), mark the positions, and give us the plastic material and wall/boss dimensions if they are already designed. If they are not, send the part as it stands — choosing the insert and sizing the boss around it is part of the manufacturability check we run before quoting CNC machining and injection molding work.
FAQ
How much stronger is an insert than a thread tapped in plastic? Several times over, in both pull-out and torque — and, more importantly, it stays that strong. A tapped plastic thread weakens with every assembly; an insert's metal thread does not.
Can a heat-set insert be removed or replaced? Yes. Heating the insert again lets it be drawn out, and a fresh one can be set into the same boss if the plastic is undamaged. It is a repair, not a routine operation, but it saves the part when a thread is damaged.
Heat-set, ultrasonic or molded-in — what is the difference? All three end with the same insert in the same plastic. Heat-setting melts the wall with a hot tip; ultrasonic installation vibrates it in; molding-in places the insert in the mold before injection. For machined prototypes and post-molding installation, heat-setting is the practical choice.
Which plastics accept heat-set inserts? Thermoplastics — ABS, PC, PP, nylon and similar. The wall has to melt and re-solidify, so thermosets such as vacuum-casting polyurethane need a different method (molded-in or bonded).
What thread sizes are practical? Commonly M2 to M6, with M3, M4 and M5 covering most equipment housings. Smaller and larger sizes exist; the boss around them, not the insert, is usually the limiting factor.
Do I need to design the boss, or can you? Either works. If your model already has bosses, send it as is and we will match the insert to them. If not, tell us the thread size and we will propose boss dimensions with the quote.